
What You Need to Know About Air Conditioner Installation Before You Start
Air conditioner installation is one of the most important investments you can make in your property’s comfort and long-term operating costs. Whether you’re replacing an aging unit or starting fresh, getting it right from the start saves money and headaches down the road.
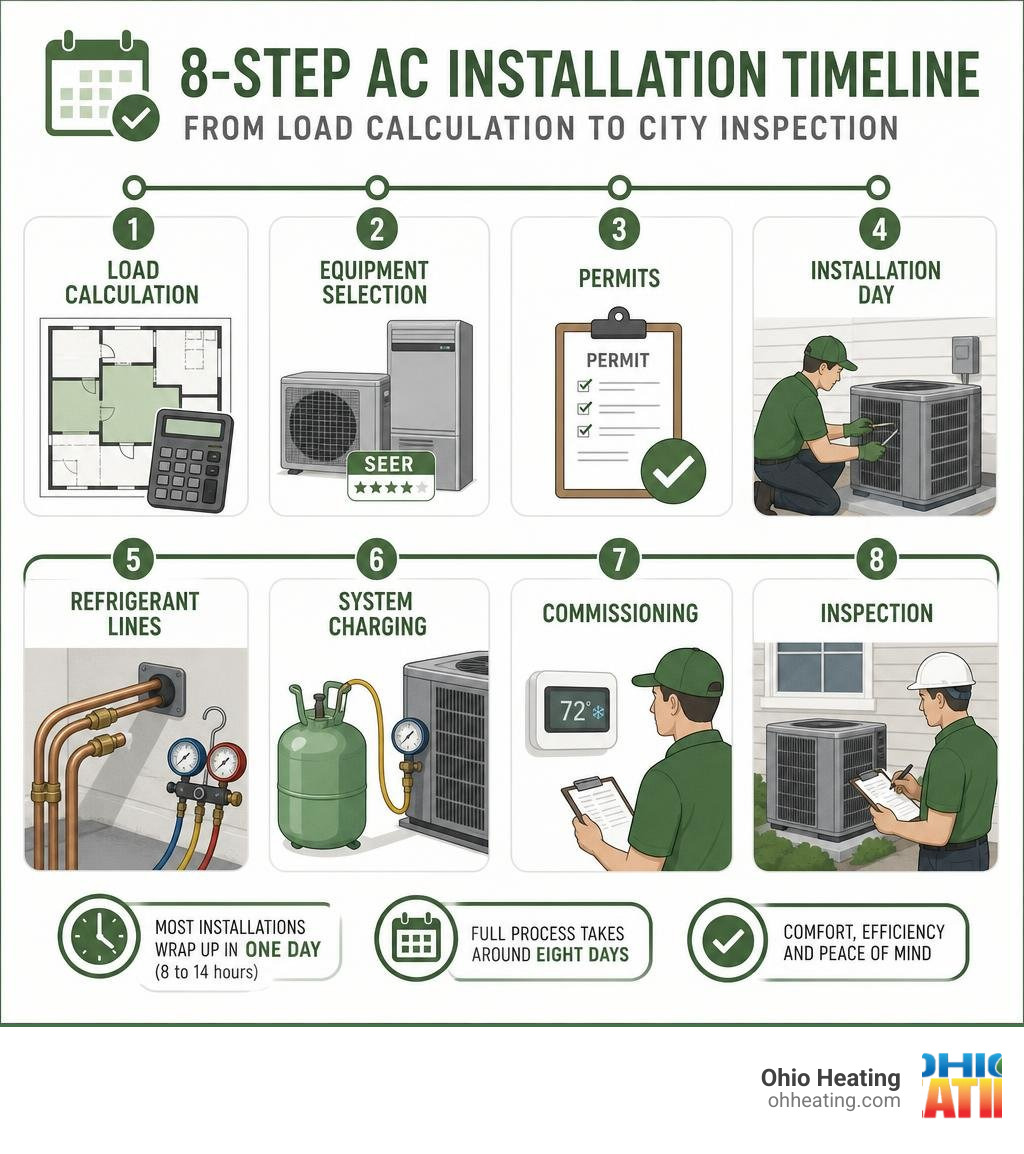
Here’s a quick overview of what AC installation involves:
| Step | What Happens |
|---|---|
| 1. Load Calculation | Technician sizes the system to your space |
| 2. Equipment Selection | Choose efficiency level (SEER rating) and unit type |
| 3. Permits | Local mechanical permit pulled (required in Columbus) |
| 4. Installation Day | Old unit removed, new system mounted and wired |
| 5. Refrigerant Lines | Lines brazed, evacuated, and leak tested |
| 6. System Charging | Refrigerant charge verified and balanced |
| 7. Commissioning | Full system test and homeowner walkthrough |
| 8. Inspection | City inspection scheduled post-install |
Most installations wrap up in one day — typically 8 to 14 hours — though complex projects can run longer. The full process, from first consultation to final inspection, takes around eight days.
A few things that matter most going in:
- Correct sizing (too big or too small causes real problems)
- Proper clearances for the outdoor unit
- Code-compliant electrical and refrigerant work
- Licensed technicians handling refrigerant — it’s federal law
I’m Jill Frattini, Service Coordinator at Ohio Heating in Columbus, OH, where I’ve spent years working alongside certified technicians coordinating hundreds of air conditioner installation projects across Central Ohio. In this guide, I’ll walk you through everything you need to know — from planning and sizing to the final system check.
Planning and Preparation: Sizing, Location, and Safety
Before our trucks roll up to your home, a massive amount of preparation happens behind the scenes. You see, a successful air conditioner installation isn’t just about swapping out metal boxes; it’s an exercise in precision engineering.
The first and most critical step is the Manual J load calculation. Many homeowners assume that sizing a cooling system is as simple as matching the square footage of their home to a chart. In reality, relying on rules of thumb is a recipe for disaster. If a system is oversized, it will “short-cycle,” turning on and off rapidly, which spikes your energy bills and leaves your home humid and clammy. If it is undersized, it will run constantly, wearing itself out prematurely while failing to keep you cool during a humid July in Columbus.
Our technicians evaluate several factors to determine the exact cooling load of your home:
- Total square footage and ceiling heights
- Insulation values in your walls and attic
- The quantity, size, and orientation of your windows
- Local climate data for Central Ohio
- Existing ductwork capacity and layout
Once we have these numbers, we look at efficiency ratings. Modern cooling systems are rated by SEER2 (Seasonal Energy Efficiency Ratio 2). Upgrading from an older 8 or 10 SEER system to a modern 14 to 20+ SEER2 system can slash your summer cooling costs by 30% to 40%. For a deeper dive into choosing the right system for our local climate, check out our Beat the Ohio Heat: The Complete Columbus AC Replacement Guide.
Selecting the Right Location and Clearance for Outdoor Units
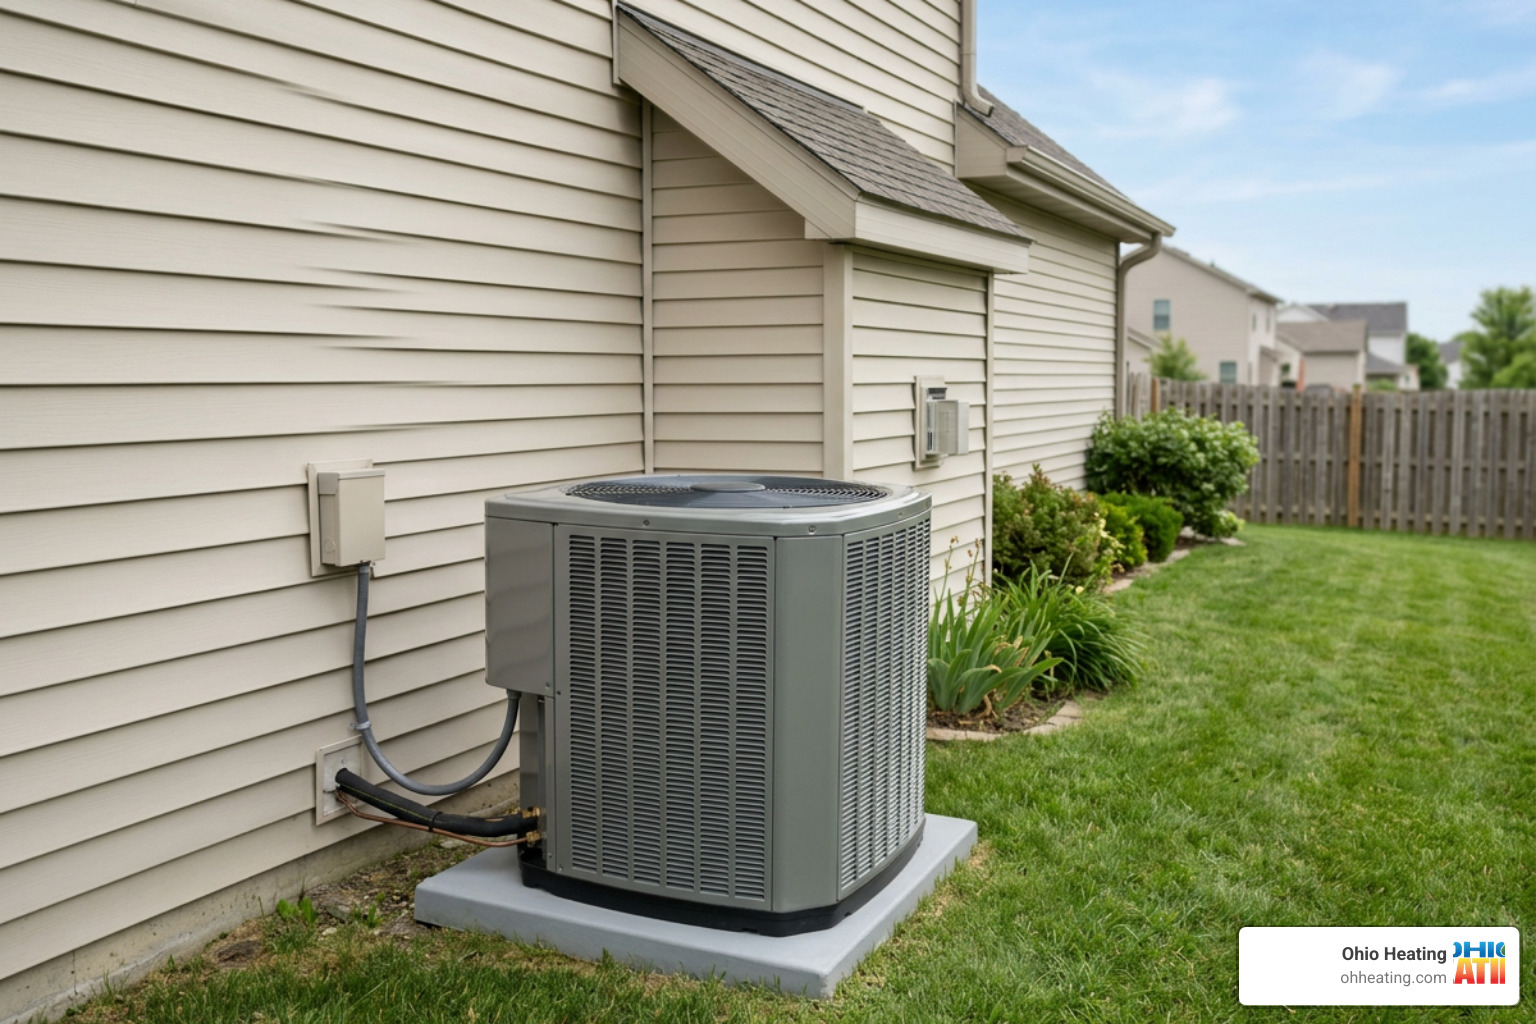
Where we place your outdoor condensing unit matters just as much as its size. The outdoor unit needs to breathe. It works by releasing the heat extracted from inside your home out into the surrounding air. If airflow is restricted, the system has to work twice as hard, reducing its lifespan and tanking its efficiency.
According to manufacturer specifications, such as those found in the 18-AC98D1-7E-EN_05192023.indd manual, there are strict clearance guidelines that must be followed during installation:
- Service Access: Keep at least 24 inches (and ideally 30 inches) of clear space in front of the electrical control box and service valves.
- Top Clearance: Ensure there is at least 48 inches of completely unrestricted space above the top discharge fan. Avoid placing units directly under low-hanging decks, roof eaves, or thick tree canopies.
- Side Clearances: Maintain a minimum of 12 inches of clearance on three sides of the unit, with one side allowed a minimum of 6 inches if it faces a flat wall with no obstructions.
- Level Ground: The unit must sit on a heavy-duty composite or concrete pad that is level to within ±2 degrees (about 3/8 of an inch per foot). This keeps the compressor oil properly distributed and prevents abnormal vibrations.
We also consider noise mitigation. Placing a unit directly outside a bedroom window or right next to your back patio can ruin a quiet evening. We work with you to find a spot that balances optimal airflow with daily peace and quiet.
Essential Safety Precautions Before Starting Your Air Conditioner Installation
Safety isn’t just a checkbox for us; it’s a core value. Working on a cooling system involves high-voltage electricity, pressurized chemical refrigerants, and high-temperature brazing torches.
Before any work begins, we follow strict safety protocols:
- High-Voltage Hazards: The electrical power must be completely shut off at the main breaker panel and verified with a multimeter before touching any wiring.
- Personal Protective Equipment (PPE): Our techs wear safety glasses, heavy-duty work gloves, and steel-toed boots to prevent cuts from sharp sheet metal and burns from brazing.
- Handling Pressurized Refrigerants: Modern systems operate under incredibly high pressures. R-410A systems, for example, run at pressures 50% to 70% higher than older R-22 systems.
- Managing Next-Gen Refrigerants: With the industry transitioning to mildly flammable A2L refrigerants (like R-32), continuous leak detection and proper ventilation during installation are paramount. These systems require specialized, spark-free tools to prevent ignition risks.
If your current system is blowing warm air or acting up, it might not need a full replacement just yet. Take a look at our Air Conditioner Repairs and Sales page to see if a quick repair is a better path forward for you.
Step-by-Step Guide to the Air Conditioner Installation Process
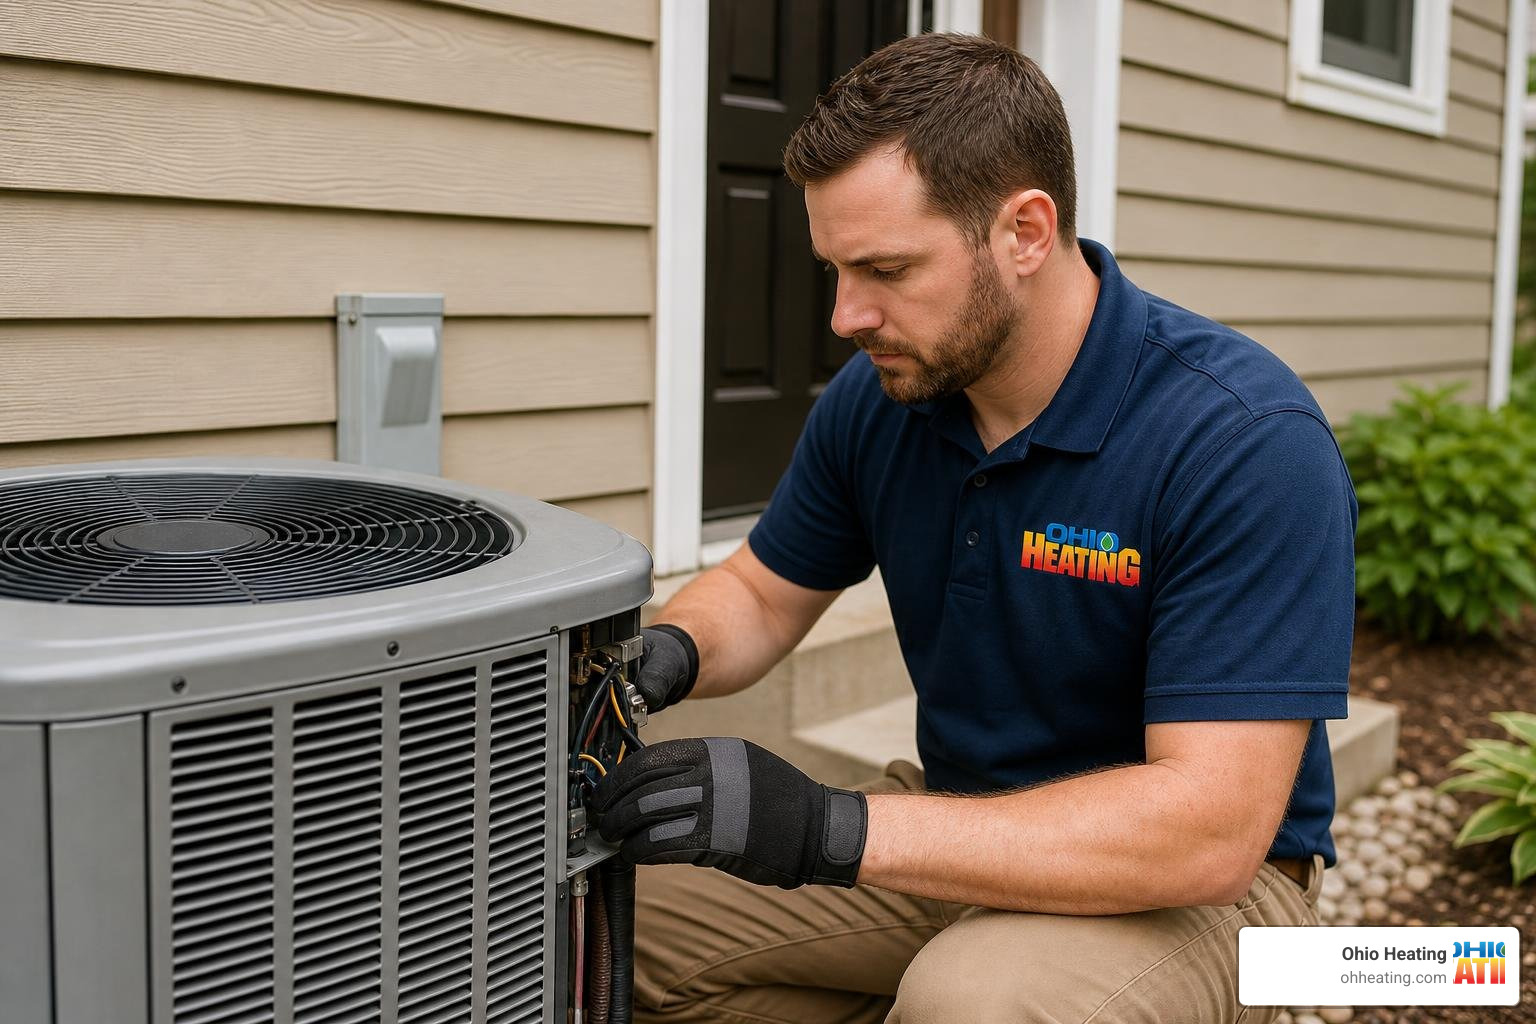
Now let’s talk about what actually happens on installation day. Once our crew arrives, we protect your home by laying down protective floor runners. We then carefully pump down and recover the old refrigerant according to strict EPA guidelines, disconnect the electrical lines, and remove the old condenser.
Next comes the layout of the new copper refrigerant line set, which connects the indoor evaporator coil to the outdoor condenser. Line set routing must be planned carefully. According to engineering standards, the maximum total length of refrigerant lines should not exceed 150 feet (including vertical lift), and the maximum vertical change between the indoor and outdoor units must not exceed 50 feet. Keeping line sets within these limits prevents oil return issues and compressor failure.
To learn more about what to expect financially on installation day, you can read our guide on Air Conditioning Installation Costs Columbus Ohio Insights.
Tools and Materials Needed for Setup
To execute a professional, code-compliant installation, we use a specialized array of diagnostic and mechanical tools. This isn’t a project you can complete with a standard home toolbox.
The standard kit includes:
- Manifold Gauges: For monitoring system pressures during testing and charging.
- High-Vacuum Pump and Micron Gauge: To pull a deep vacuum and measure moisture removal.
- Brazing Torch and Silver Alloy Rods: For joining copper refrigerant lines.
- Dry Nitrogen Tank and Regulator: For purging lines and pressure testing.
- Flaring and Tubing Tools: For clean, leak-free copper connections.
- Calibrated Torque Wrench: To tighten service valve caps and fasteners to exact manufacturer specifications (such as those outlined in the 4AC13/14/16 (SINGLE-STAGE) AIR manual).
Connecting Refrigerant Lines, Evacuation, and Leak Testing
Once the copper lines are run, we connect them using a high-temperature brazing process. This is where technical skill really shines.
To prevent damaging the sensitive internal seals of the service valves, we wrap the valve bodies in water-saturated rags to act as a heat sink during brazing. Crucially, we flow dry nitrogen through the copper lines at a low pressure (1 to 2 psig) while brazing. This prevents oxygen from entering the line and forming black copper oxide scale, which can easily clog the system’s expansion valve later.
After the joints are cool, we perform a rigorous multi-stage leak test:
- Pressure Test: We pressurize the lines with dry nitrogen to 150 psig and monitor it to ensure the pressure holds perfectly.
- Deep Vacuum Evacuation: We connect a vacuum pump and pull the system down to eliminate all air and moisture. Moisture is the ultimate enemy of modern AC systems because it reacts with the synthetic POE oil to form destructive acids.
- The Micron Target: We must achieve a deep vacuum of 500 microns or lower. According to the Installation Instructions for high-performance units, a tight, dry system should hold a vacuum under 1,000 microns for at least 7 minutes after the pump is isolated.
Electrical Wiring Requirements for High and Low Voltage
An air conditioner is a heavy electrical load. The installation must comply with the National Electrical Code (NEC) and local Columbus municipal codes.
- High-Voltage Connections: We install a dedicated outdoor weather-proof disconnect box within sight of the outdoor unit. We run code-compliant, outdoor-rated whip containing copper-only conductors from the disconnect to the unit’s contactor.
- Low-Voltage Control Wiring: This is the wiring that connects your thermostat to your indoor air handler and outdoor unit. We ensure the control wire is protected and properly routed. For long runs, we follow strict gauge limits: 18 AWG is rated for runs up to 150 feet, while 16 AWG is used for runs up to 225 feet to prevent voltage drops.
Calibrating the Refrigerant Charge Using Subcooling or Superheat
Once the system is physically installed, wired, and evacuated, it is time to release the factory refrigerant charge and fine-tune it. Every home’s line set length is different, meaning we must manually adjust the charge for peak performance.
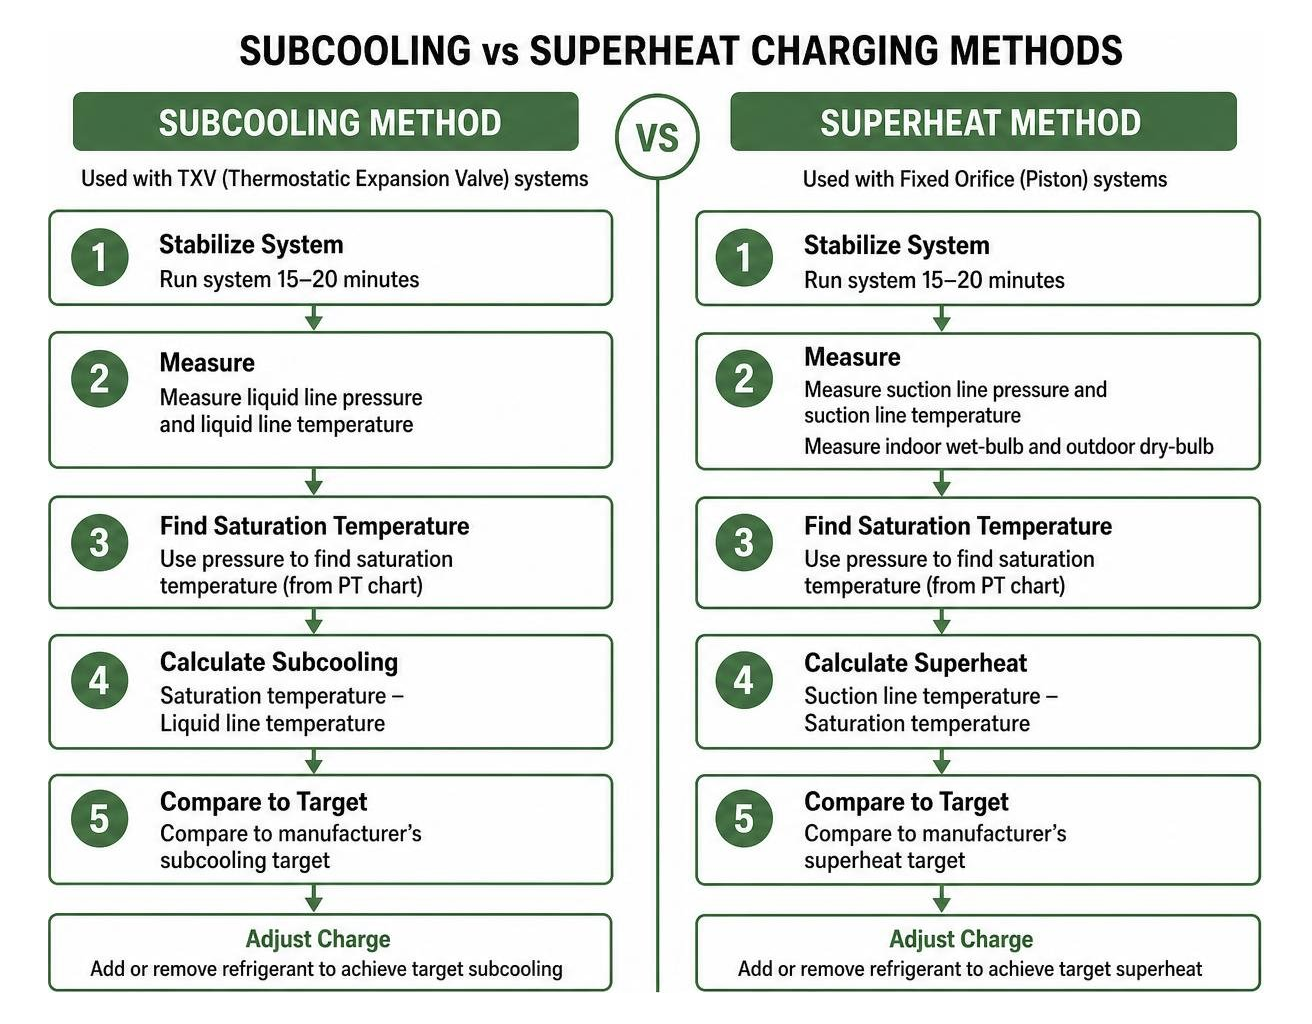
We use two primary methods to verify the charge:
- Subcooling Method: Used for systems equipped with a Thermostatic Expansion Valve (TXV). We measure the liquid line temperature and pressure, comparing it to the manufacturer’s target subcooling value (typically found on the unit’s control box cover).
- Superheat Method: Used for systems with a fixed orifice (piston) metering device. We measure the suction line temperature and pressure alongside indoor wet-bulb and outdoor dry-bulb temperatures.
We allow the system to run for at least 15 to 20 minutes to stabilize before taking these measurements. That we can only accurately charge a system when the outdoor ambient temperature is above 55°F (12.78°C), which is the minimum operating limit for standard cooling modes.
How to Install a Window Air Conditioner Securely
While central air conditioning is our specialty, many homeowners in older Columbus neighborhoods rely on window units for specific rooms. Installing a window unit safely requires more than just balancing it on a sill and hoping for the best.
Before purchasing, you must measure your window opening carefully and calculate the BTU capacity required for the room. An oversized window unit will constantly turn on and off, failing to dehumidify the air, while an undersized unit will run continuously and fail to cool the space.
Mounting and Sealing Your Window Unit
To install a window unit securely:
- Inspect the Window Frame: Ensure the wood or vinyl is sturdy and free of rot.
- Install a Support Bracket: For heavy units (especially those over 8,000 BTUs), we highly recommend installing an exterior support bracket. This transfers the weight of the unit off the window sash and onto the home’s exterior wall.
- Set the Angle: The unit must be installed with a very slight tilt toward the outside (about 1/4 inch) to ensure that condensation drains out of the back of the chassis rather than leaking into your drywall.
- Seal the Gaps: Expand the side panels and secure them to the window frame. Use heavy-duty weather stripping and foam insulation to seal every single gap around the unit. This keeps hot Ohio humidity and outdoor pests exactly where they belong: outside.
DIY vs. Professional Air Conditioner Installation
It can be tempting to look at a new cooling unit online and think, “I can handle this over the weekend.” However, installing a central cooling system is incredibly complex. Let’s look at how DIY stacks up against a professional installation:
| Factor | DIY Installation | Professional Installation |
|---|---|---|
| Warranty Protection | Almost always voided immediately | Full manufacturer and labor warranties intact |
| EPA Certification | Illegal to handle refrigerant without it | Fully licensed, safe chemical handling |
| Specialized Tools | Thousands of dollars to purchase | Techs arrive with state-of-the-art gear |
| Permits & Code | Homeowner responsible; high risk of code violations | Contractor handles all municipal permits |
| Sizing Accuracy | Guesswork based on square footage | Precise Manual J load calculations |
If you are trying to navigate the complex world of equipment pricing and want to make sure you aren’t overpaying, read our guide on Don’t Get Quoted $30k: Understanding New AC Unit Costs.
Comparing the Risks of DIY with Professional Services
The risks of a botched DIY installation go far beyond a system that doesn’t cool well.
First, there are legal and environmental issues. Under Section 608 of the Clean Air Act, it is a federal crime to purchase or handle regulated refrigerants without EPA certification. Venting refrigerant into the atmosphere carries massive fines.
Second, there is the risk of voiding your equipment’s warranty. Major manufacturers require proof of professional installation by a licensed contractor to honor parts warranties. If a compressor fails on a DIY unit six months down the road, you will be paying for the replacement out of pocket.
Finally, there are real safety hazards. Working with 240-volt electrical lines can be fatal if a mistake is made, and improper brazing can cause expensive refrigerant leaks inside your home. If you want a simpler, less invasive cooling solution for a home without ductwork, a professionally installed mini-split might be perfect. Read more on our Ductless Systems page.
Frequently Asked Questions About AC Installation
How long does a standard air conditioner installation take?
For most homes in Central Ohio, the physical installation of a new air conditioner takes 8 to 14 hours — essentially one full business day. Our crew typically arrives between 7:30 AM and 8:00 AM, and we aim to have cold air flowing by late afternoon. If your home requires extensive modifications, such as ductwork repairs, electrical panel upgrades, or complex line set routing, the project may extend into a second day.
How much does a new air conditioning system cost in Columbus?
The cost of a new cooling system varies depending on the size of your home, the efficiency rating (SEER2) you choose, and any necessary modifications to your existing ductwork or electrical systems. Basic central air systems typically start around $3,000 to $5,000, while high-efficiency, multi-stage systems can range from $5,000 to $10,000 or more.
Additionally, you will need to account for local municipal permit fees (which run around $95 in Columbus). The good news is that local utility providers like AEP Ohio frequently offer rebates up to $300 for upgrading to high-efficiency cooling equipment, and we help you navigate those savings.
How long do modern cooling systems typically last?
On average, a professionally installed central air conditioner will last 10 to 20 years. However, as a system crosses the 10-year mark, its operating efficiency typically begins to decline. Regular annual maintenance — such as cleaning the outdoor condenser coils, checking refrigerant levels, and replacing air filters — is the single most important factor in extending your system’s lifespan and keeping your manufacturer’s warranty active.
Conclusion
Investing in a new air conditioner installation is a decision that will affect your home’s comfort, safety, and energy bills for the next two decades. While the technical details can feel overwhelming, you don’t have to navigate them alone.
Since 1999, the team at Ohio Heating has been helping Columbus and Central Ohio homeowners stay cool and comfortable through the stickiest summer heatwaves. We take pride in our precision engineering, code-compliant installations, and absolute commitment to safety.
If you’re ready to upgrade your home comfort or have questions about your cooling needs, we are here to help. Reach out to us today or explore Chill Out: Your Ultimate Guide to Air Conditioning Service Columbus Ohio to get started!